To stay on top of your business activities, it always good to have your company email on your smartphone or device which is close to you and gives you instant notification of that new client, proposal approval and hopefully more good business alerts.
This setup is for Android devices.
Android mail apps may look different across devices and also different Android Operating systems. This is a general guide to setting up your email for all android devices, if you still have any issues, do contact us and we will be happy to troubleshoot with you.
Choose your built-in Android email app
Most Android Phones
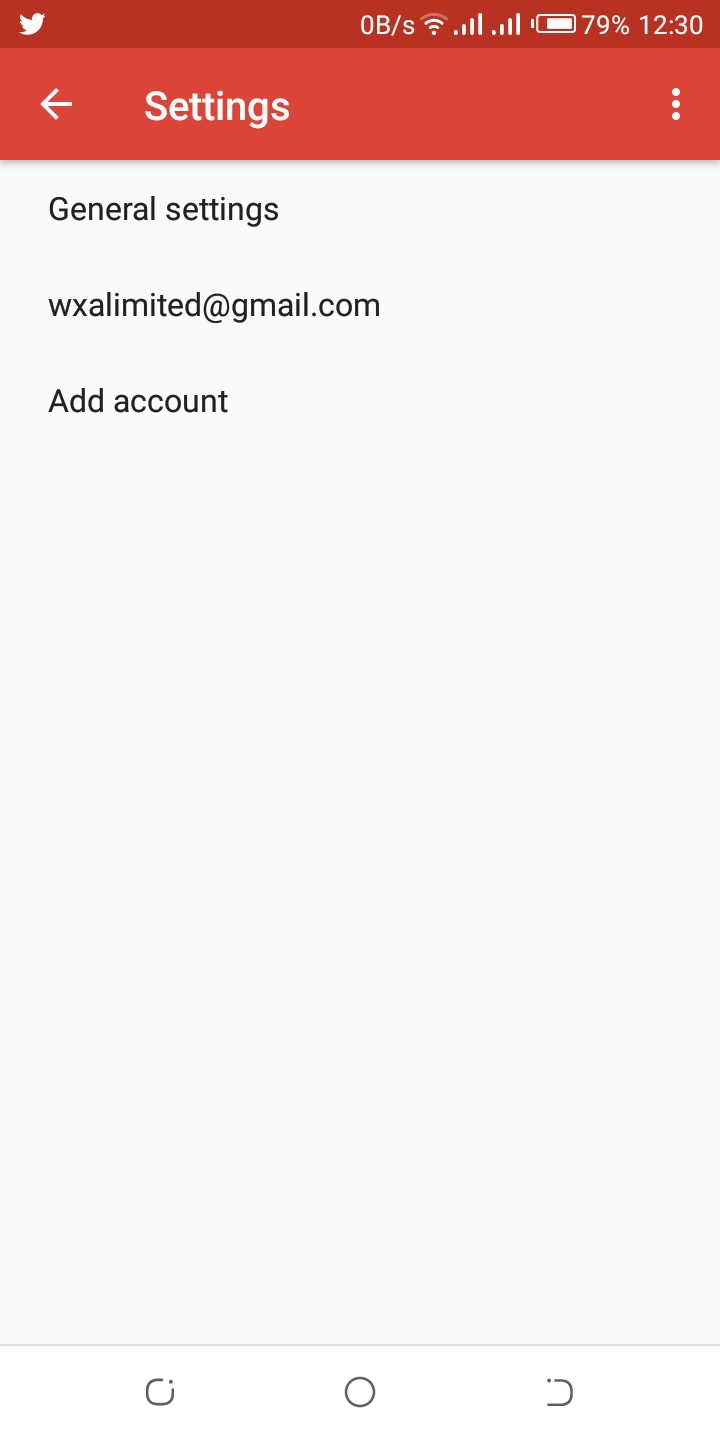
Open the Gmail App
Tap on the menu icon( three horizontal lines) at the top left corner> scroll down to settings > add the account ( under settings).
Set up email
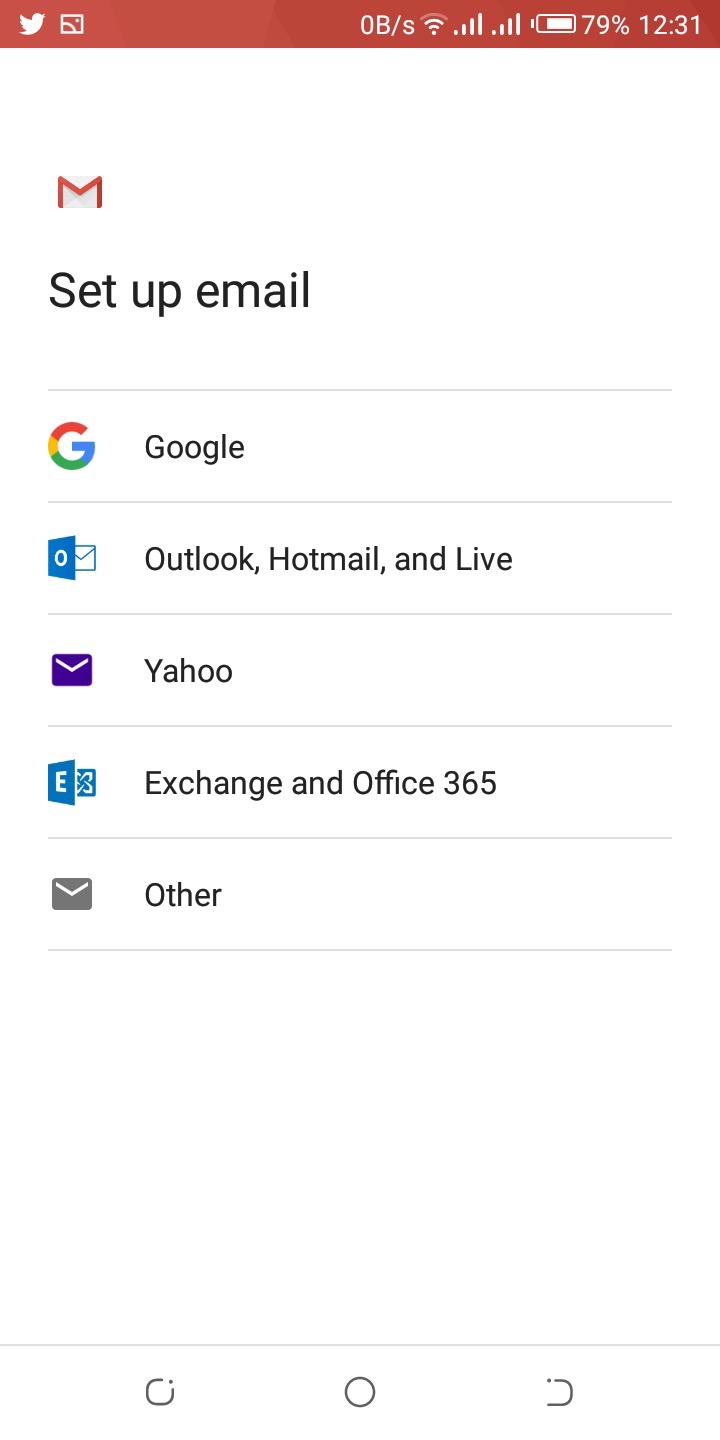
Select other
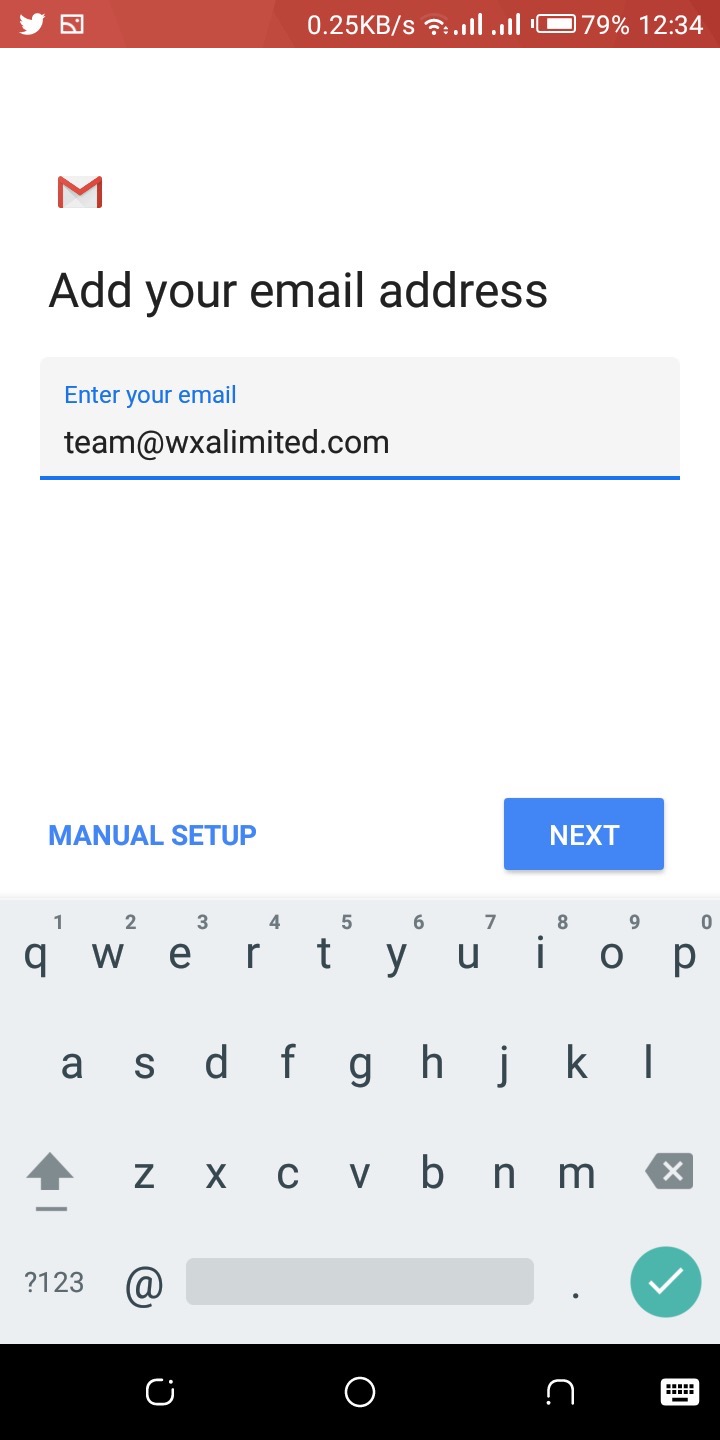
Add your email address and select manual setup at the bottom
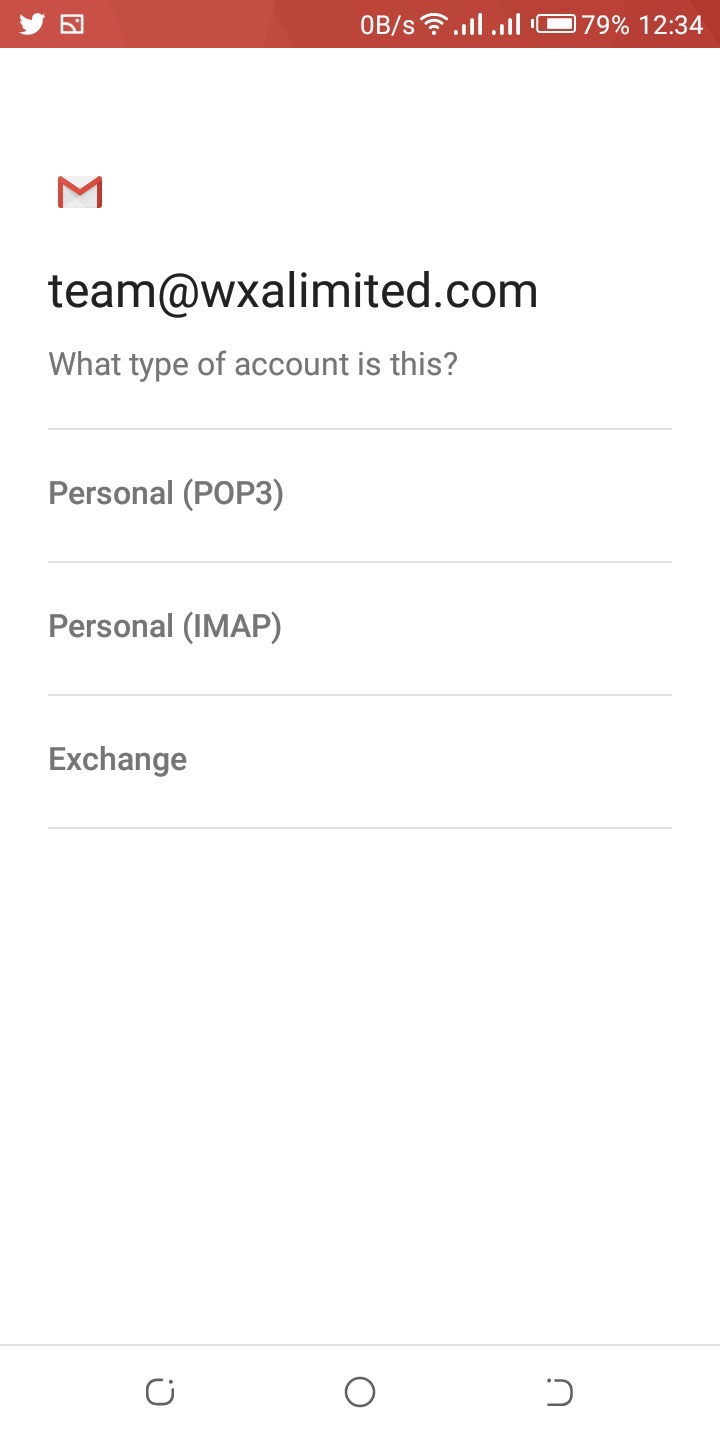
Type of Account( we either adding a POP3 account or IMAP)
Difference between POP and IMAP
in summary, IMAP(Internet Messaged Access Protocol) always syncs with mail server so that any changes you make in your mail client will instantly appear on your webmail inbox.
On the other hand, in POP(Post Office Protocol), your mail client account and mail server are not synced. It means whatever changes you make to your email account in the mail client will not be transferred to the webmail(server) inbox.
We do advise you to choose IMAP as we all want to be up to date anywhere we are and at all times with your business emails.
Choose IMAP > Add your password(do make sure your passwords are not easy to guess to avoid hacking).
if its the default password which is more secure, simply copy and paste the password to avoid any issues.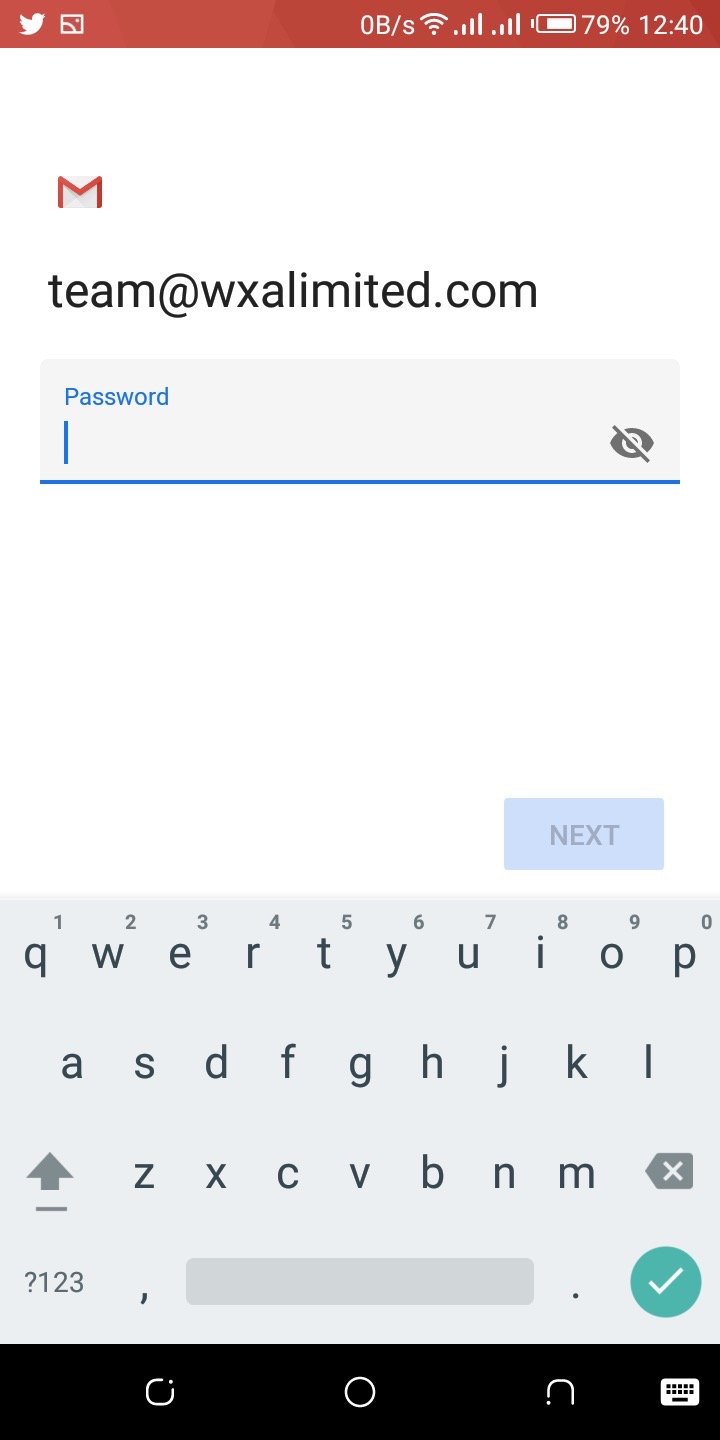
Incoming Server Settings
Simply add "mail." to the server section so it becomes "mail.yourdomain.com"
Click Next.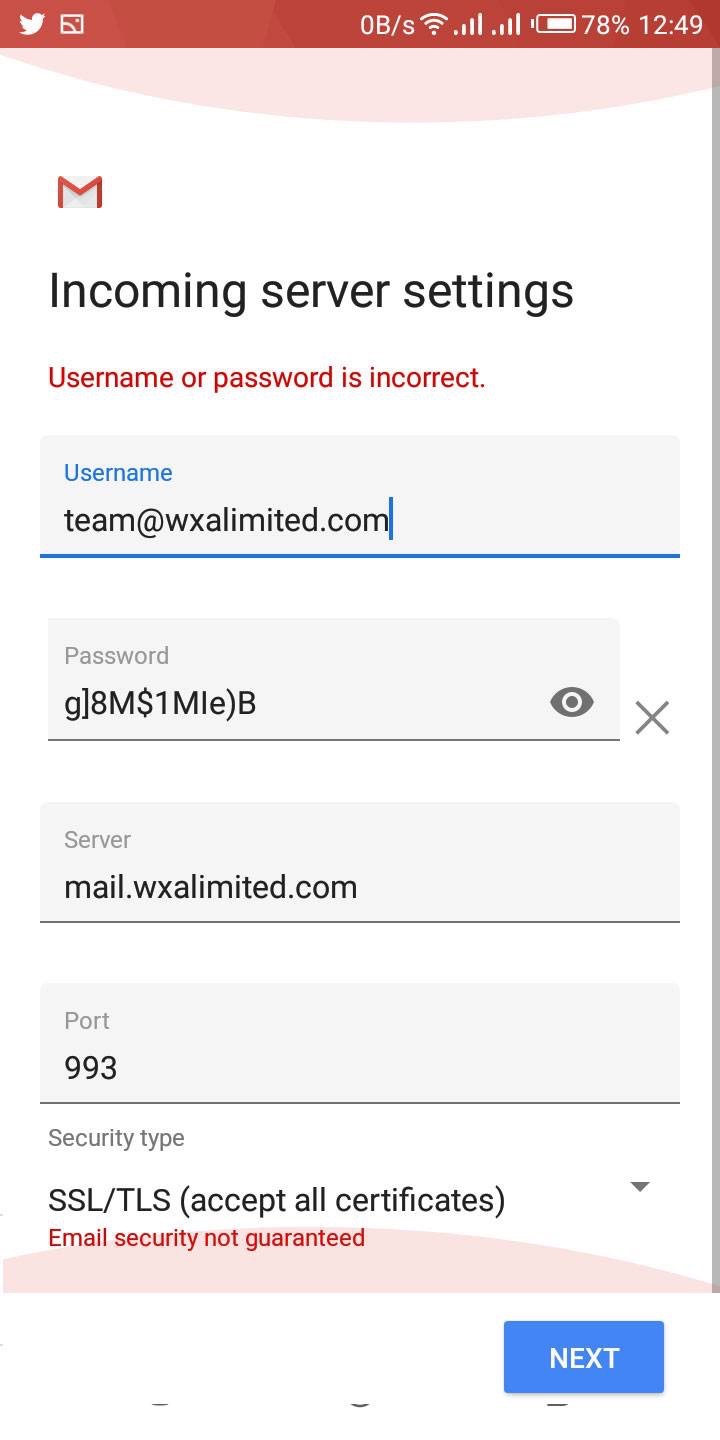
It will try to connect.
Change security type to SSL/TLS(accept all certificates).
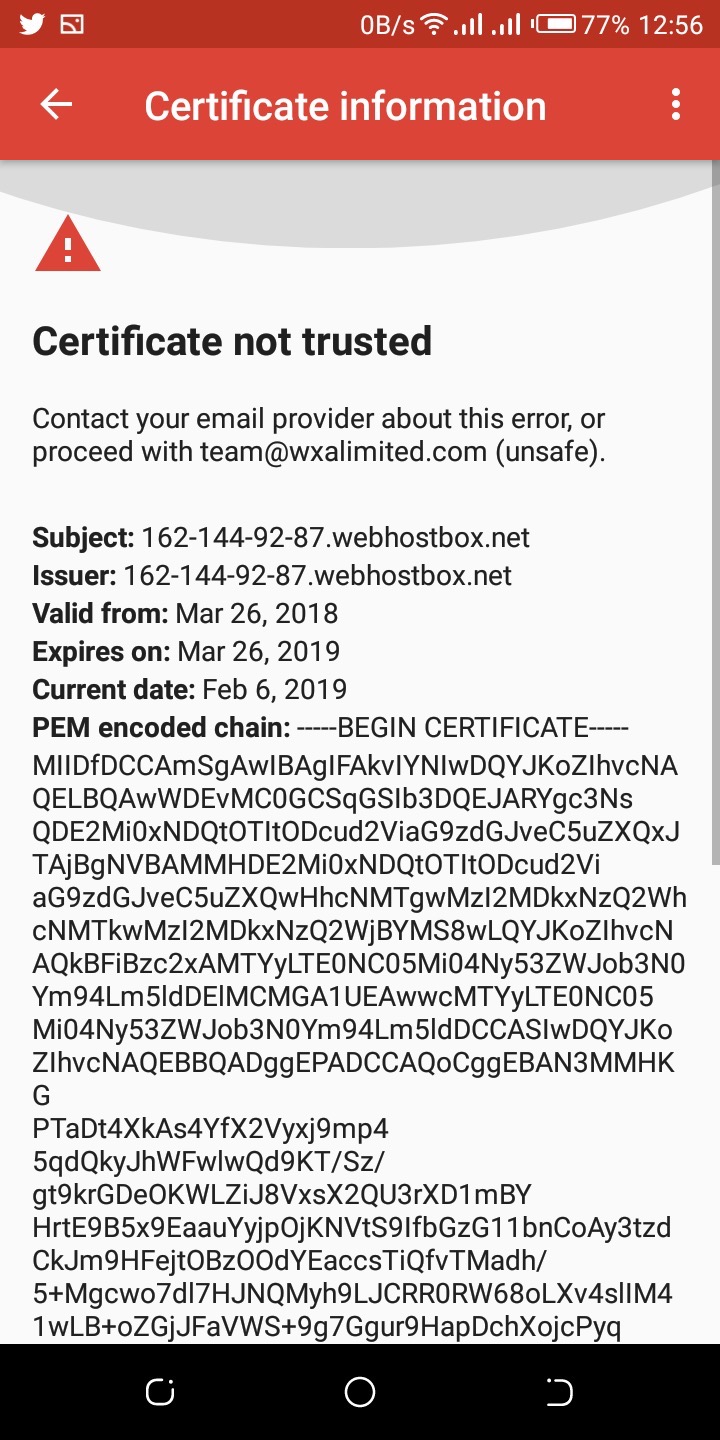
Certificate not valid ?? click on advanced > scroll down and click proceed anyways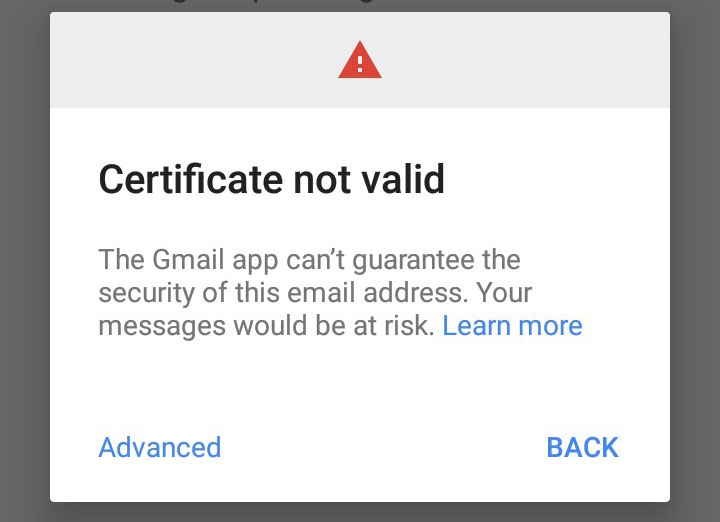
If all the information you added is correct then it will move on to outcoming server else you get this: 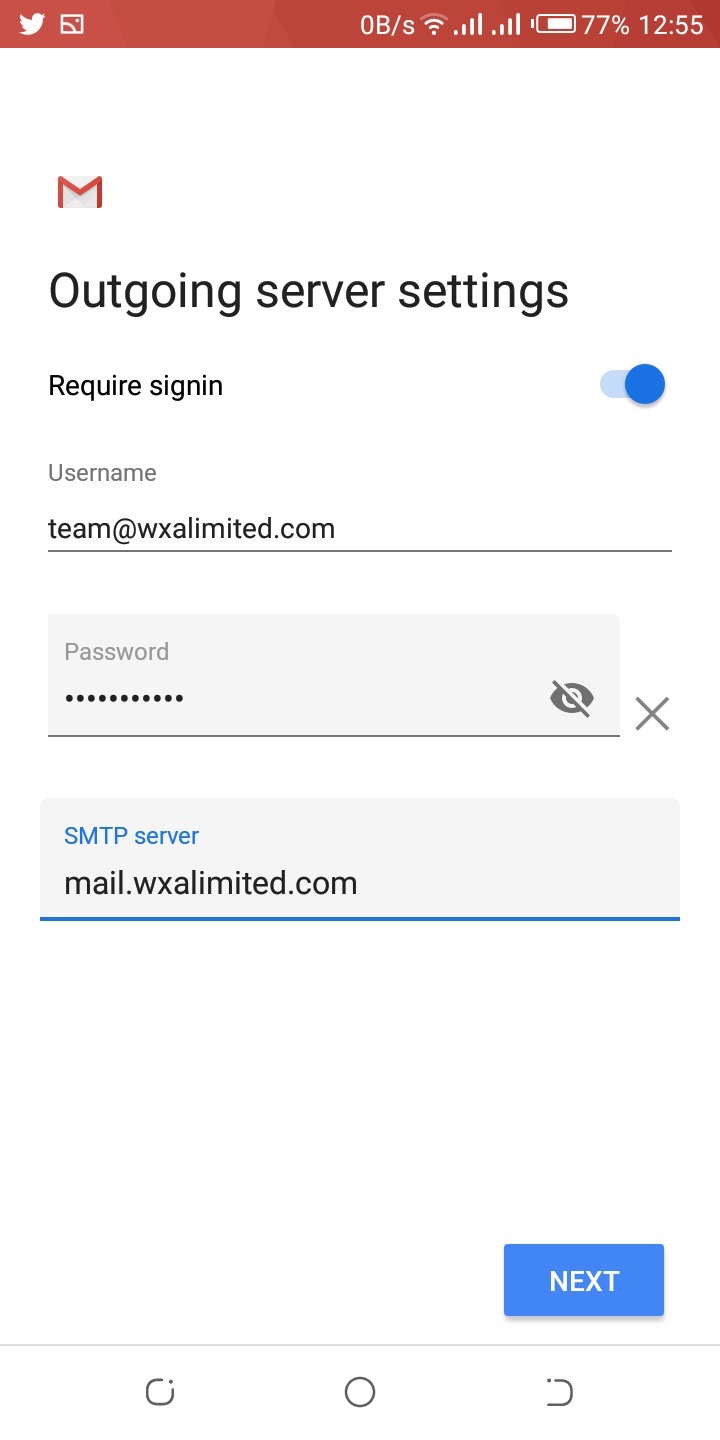
Next is outgoing server settings
Simply add "mail." to the server section so it becomes "mail.yourdomain.com"
Click Next.
Once again it will try to connect.
Certificate not valid ?? click on advanced > scroll down and click proceed
Account options:
Sync Frequency
This you can always change to match with your activities(note this affects your battery life and also the time you get emails.)
Do review this section properly but you can always make changes to it later on under setting > account.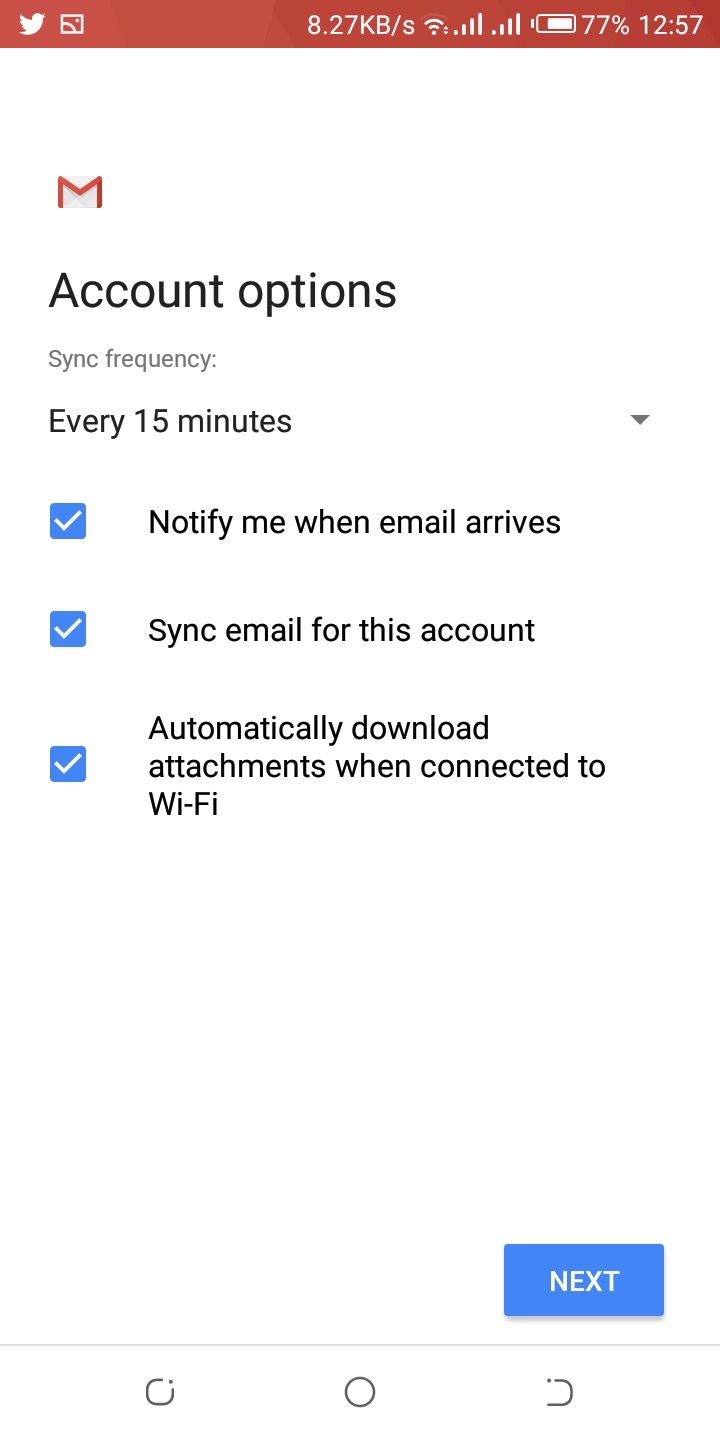
Click Next.
Confirmation screen
Do set your "display" name for this email address which will show in all emails sent out. Click Next 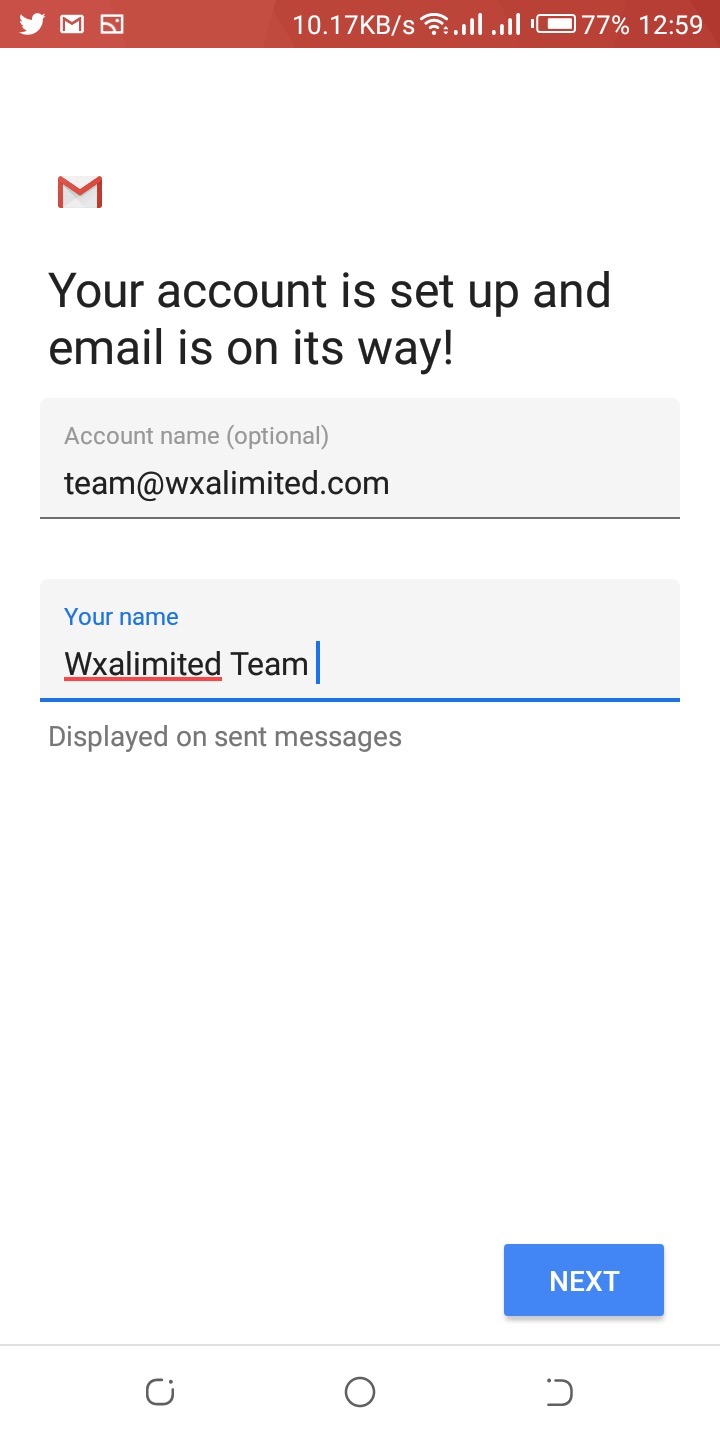
Set up completed.
If you do have any issue with setup, kindly contact us.
Conclusion
This can also be used for other email apps as these are the basic information you need to add your company email and stay on top of your business activities.